Blog FAQ
Q: How do I create a blog entry?
A: Every registered YouthSportsParents user can create blog entries. Click here to sign up for a YouthSportsParents account or click here to login. After you've logged in, on the right sidebar under My YouthSportsParents, click Create content > Blog entry. This displays the form for creating blog entries:
- Enter a Title
- Under Section, select the appropriate Channel, Center, and Topic in which to categorize this blog entry. This is optional.
- Enter the Body of your entry
- Submit your changes.
Q: How do I add a link in my Blog?
A: To insert a link to another website:
- Highlight some text that you have typed with your mouse
- Click the Insert/edit link icon (looks like a chain)
- This will launch a popup window-if you have pop-ups disabled enable them for YouthSportsParents.com in your web browser
- For Link URL, enter the address where your link will point (e.g. http://www.nytimes.com)
- Title: provide an optional title for your link (this is displayed when users mouseover your link)
- Click Insert
- When you are finished making changes to your blog entry, be sure to click Submit.
Q: How do I add an image to my Blog?
A: To add an image to your blog entry:
- Position your cursor where you want the image to appear and click the Insert/edit image icon (green tree)
- This will launch a popup window-if you have popups disabled enable them for YouthSportsParents.com in your web browser

- Click the icon next to Image URL
- This will bring up a second popup; click Browse to search your computer for an image to upload, when you find one, click Open
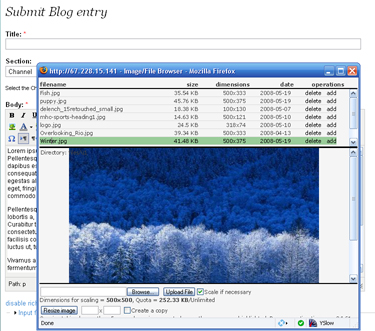
- Click Upload File to upload the image to YouthSportsParents
- Click on the image. This will take you back to the first popup where you can assign an Image description and Title. When you are done, click Insert
- Your image is now visible inside the Body content editing area.
- When you are finished making changes to your blog entry, be sure to click Submit.
Q: How do I wrap text around my image?
A: To position your image on the left side of the page, with text wrapping on the right:
- Click once on an image that you have uploaded (see above for instructions on how to upload images).
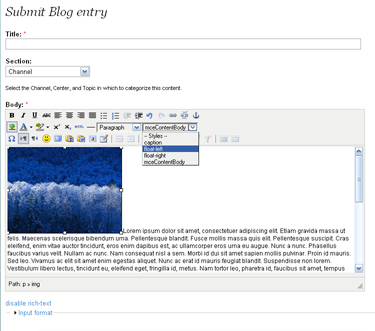
- Using the styles dropdown menu, select float-left (see image above).
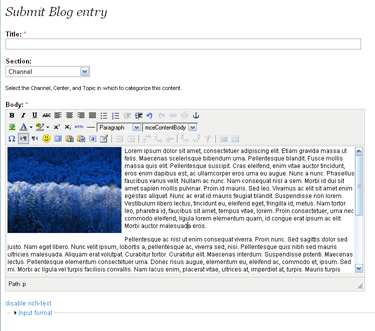
- Your image will now have text wrapping around it. To float and image on the right side of the page, select float-right.
- 2619 reads
- Flag as offensive
- Printer-friendly version